Create Site Columns, Content Types, Bind content type to list in share point
Document by Vairavan – enquiry@softwaretraininginchennai.com – + 919042710472
Navigate to the Site URL http://htc:7004/
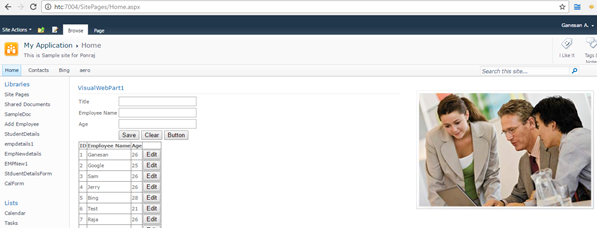
Click on Site Action -> Site Settings
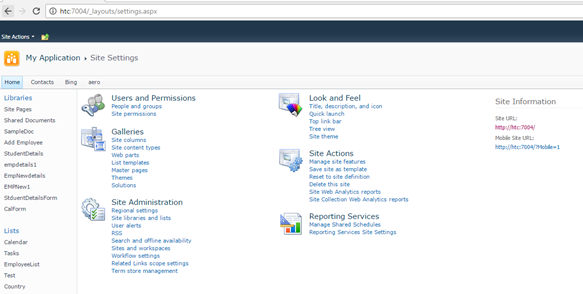
Click on Site Columns in Gallery.
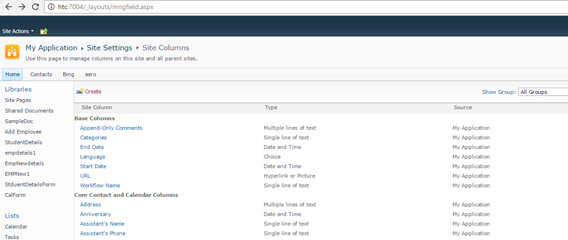
http://htc:7004/_layouts/mngfield.aspx
Click on Create.
Create a Site column with column name StudentName and type as Single Line of Text. Click Ok.
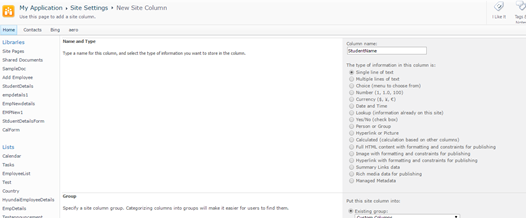
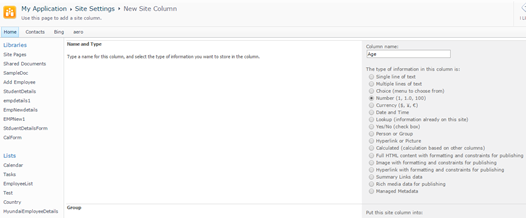
Create Site column Age with Number as DataType.
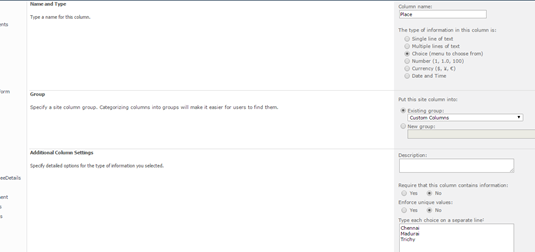
Create a site column Place with Choice
Chennai
Madurai
Trichy.
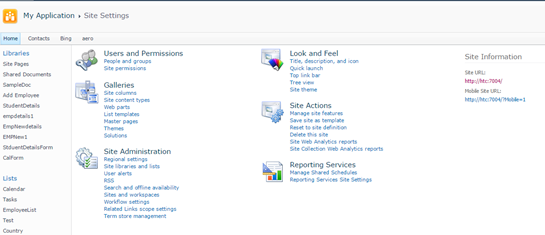
Navigate to Site Action –>Site Settings
Click on Site Content Types in Gallery.
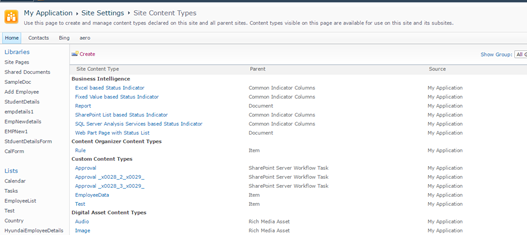
Click on Create.Create a site content type with name as StudentDetails and Parent Content Type from as
List Content Type and Parent Content Type as Item.
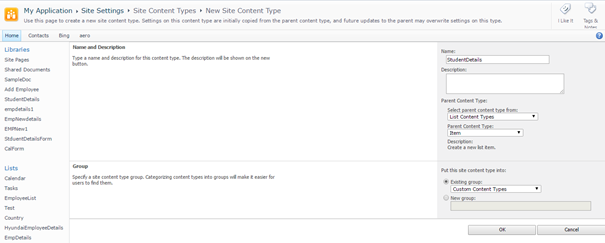
Click Ok.
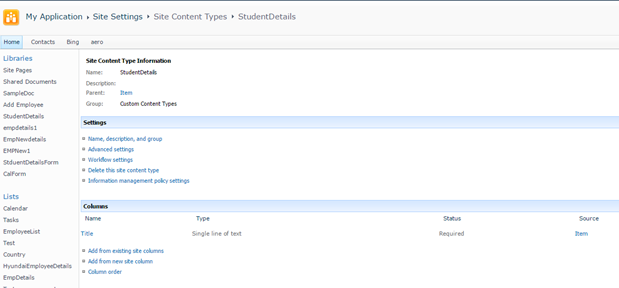
Click on Add from Existing Site column.
Select Custom Columns in the dropdown.
Add StudentName,Age,Place to Columns to add.Click on Add.
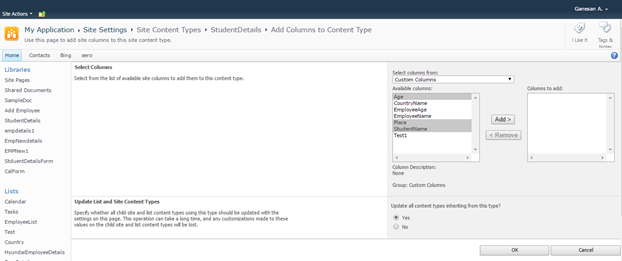
Click Ok.
Create a Custom List as shown below.
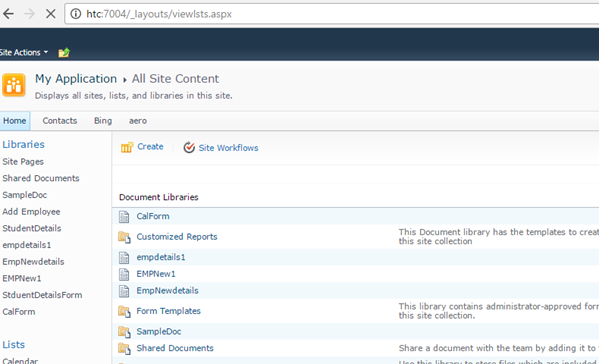
Click on Site Action –> View All site content
Click on Create.
Select Custom List as shown.
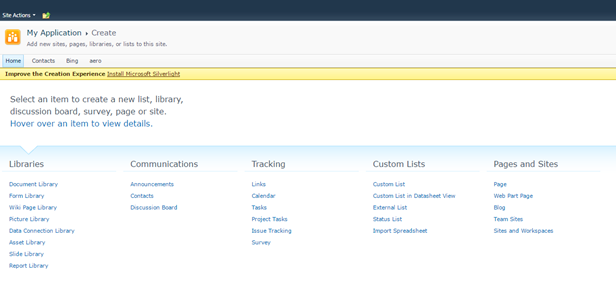
Create a List StudentDB.
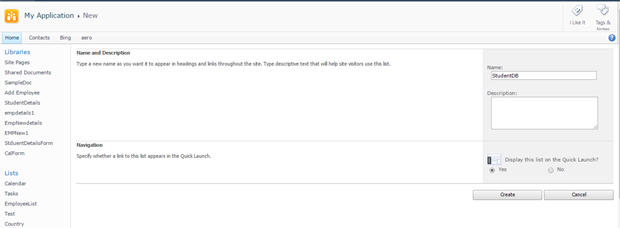
Click on Create.

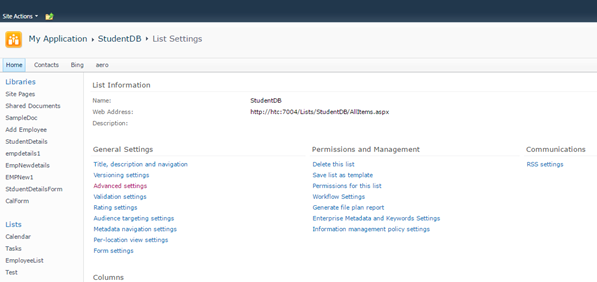
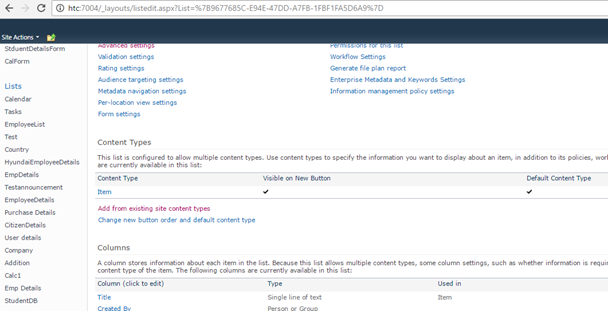
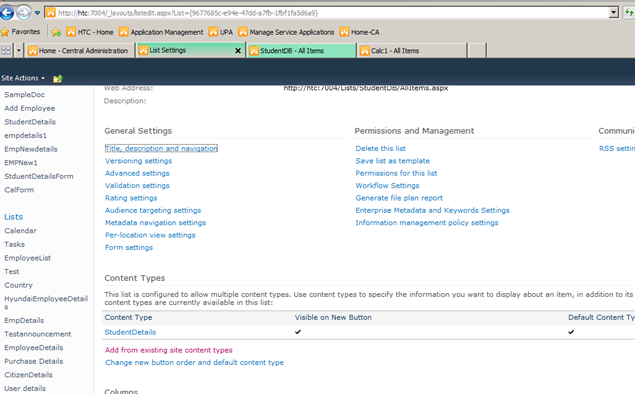
Click on List settings. Click on Advanced Settings.
Change Allow Management of Content Types to Yes.
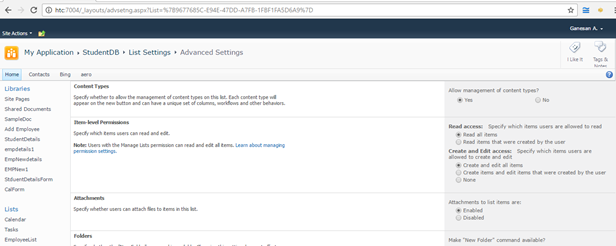
Click Ok.
Click on Add from Existing Site content Types from Content Types Tab.
Select Custom Content Types from Dropdown as shown below.
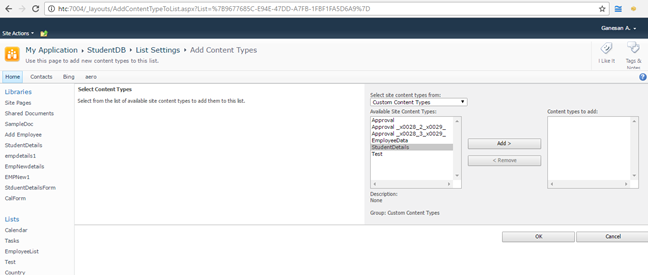
Select Student Details and Click on Add.
Click on Ok .Now the content Type will be added to List.
Now you can see both content types.
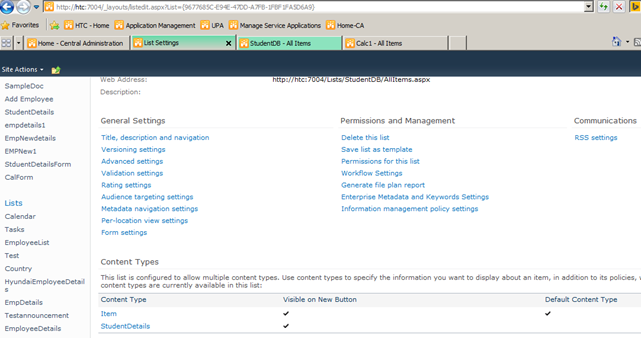
Click on Item Content Type.
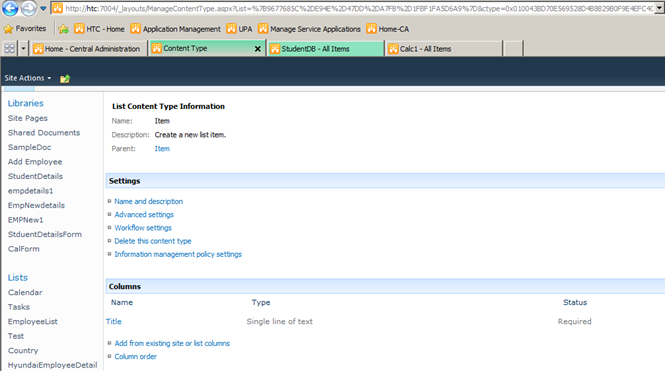
Click on Delete this Content Type.
Now you can see only one Content Type associated with the List ie. StudentDetails .
Click on New item in StudentDb List.It shows StudentDetails ContentType.
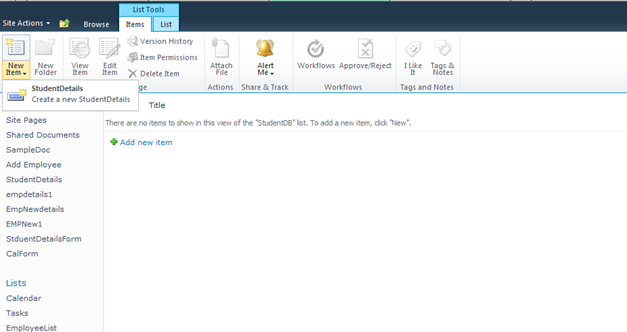
http://htc:7004/Lists/StudentDB/AllItems.aspx
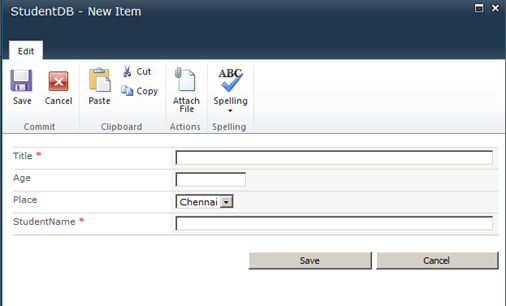
Click on New Student Details link. The New form appears as below.
Click on Modify View and Add the columns to View.

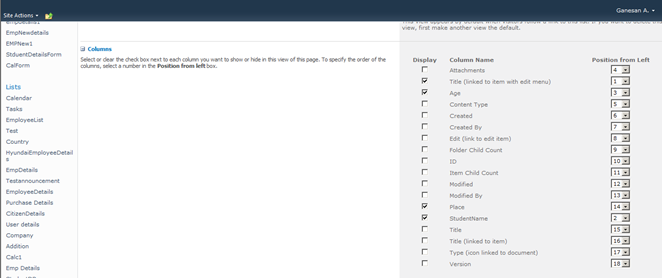
Click on Ok .Now the view looks as below.

Recent Posts
Categories
- All
- Angularjs training in Chennai
- ASP.NET Core
- dot net training
- dot net training in chennai
- dotnet full stack developer
- Free dotnet training
- information on dotnet
- Learn Java in chennai
- Learn Python at Karaikudi
- learn python online
- learn python online from chennai
- Linq Queries in .net
- mutual funds
- MVC Training Tutorials
- PHP Training in Chennai
- pmp training online
- power apps online training
- Python Training Online
- share market
- Sharepoint framework online training
- SharePoint Freelancers in Chennai
- software testing
- spfx online training
- Stock market
- Uncategorized
